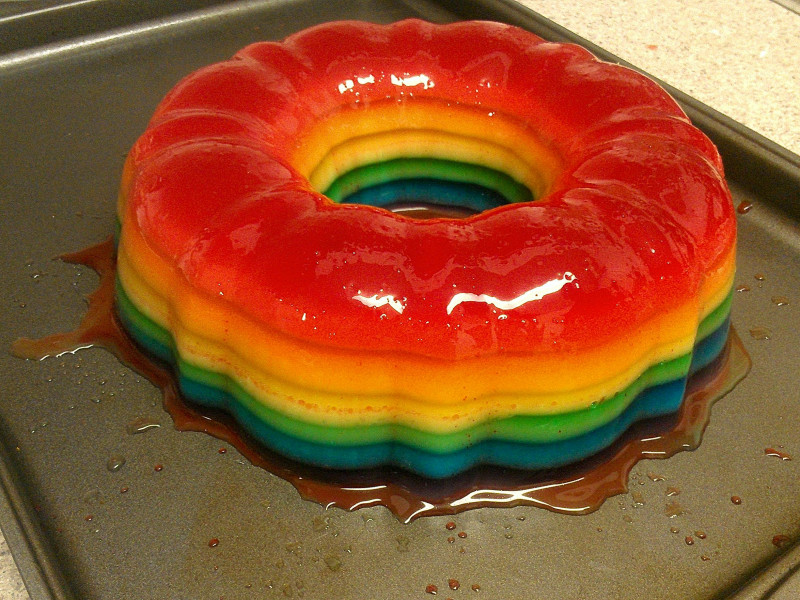
 What’s better than bringing Jello shots to a party? Bringing an entire Jello shot cake, of course!
I got the recipe online, but there are definitely some tips that I have to make this whole ordeal a lot easier.
First off, I would recommend coercing a partner to help. The first time I made it, it took me just about six hours on my own. The second time, I bribed a friend with the promise of wine, and we got done in about two and a half hours. Worth it!
Secondly, turn your fridge temperature down. My fridge isn’t very cold, so I turned it to the coldest setting. This way, the Jello didn’t need to sit in the fridge as long between colors, which sped up the process.
Now here’s how to make it…
What you’ll need:
 Learn how to make your own homemade rainbow cake
April of April Knits, Cooks and Reads made her own layered rainbow wedding cake and posted a great tutorial on her blog including her cake... Read more
- 6 packages of 3 oz gelatin
- 6 tsp of flavorless gelatin powder
- 1 ¼ cup of vanilla yogurt
- 4 ½ cup water
- 3 cup vodka or rum
- Cooking spray
- Cake mold
- Mixing bowl
Instructions:
First thing you do is, a few hours before you start the recipe, put your booze in the freezer. You want it to be as cold as possible, so that the Jello reacts quickly. I usually leave it in the freezer overnight, but three or four hours should do the trick nicely.
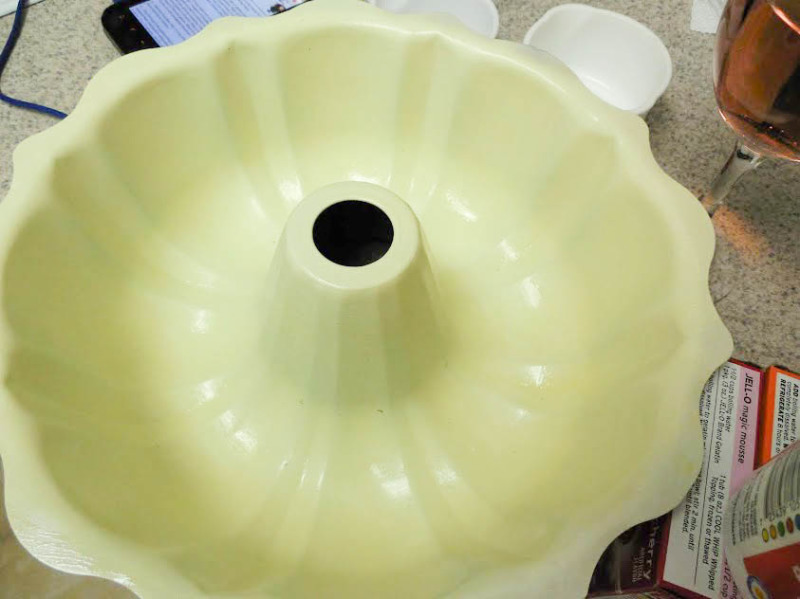
Next, spray your mold with cooking spray. Wipe it off slightly, so there’s only a small residue left. This way, the Jello won’t get stuck in the mold, but also won’t taste like butter.

Then, pour ¾ cup of water into a pan. Sprinkle 1 tsp of the gelatin into it, trying to spread out the gelatin as much as possible. Let it sit for a minute or two.

Next, on low heat, stir the gelatin constantly until it is dissolved. This generally takes about five minutes.

Now is the time to add the first flavor of Jello. This is the color that will be at the top of your mold. Still on low heat, whisk in the entire packet until dissolved.
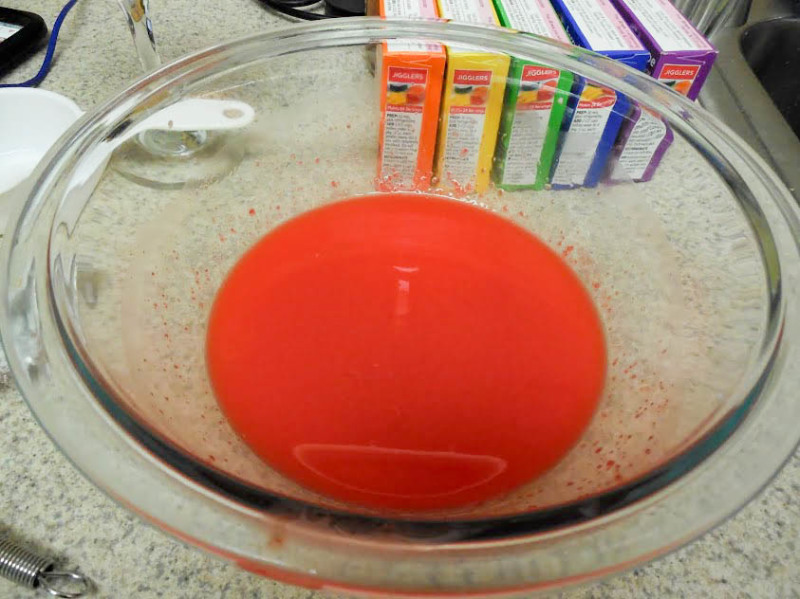
Remove from heat. Add ½ cup of the alcohol and stir.
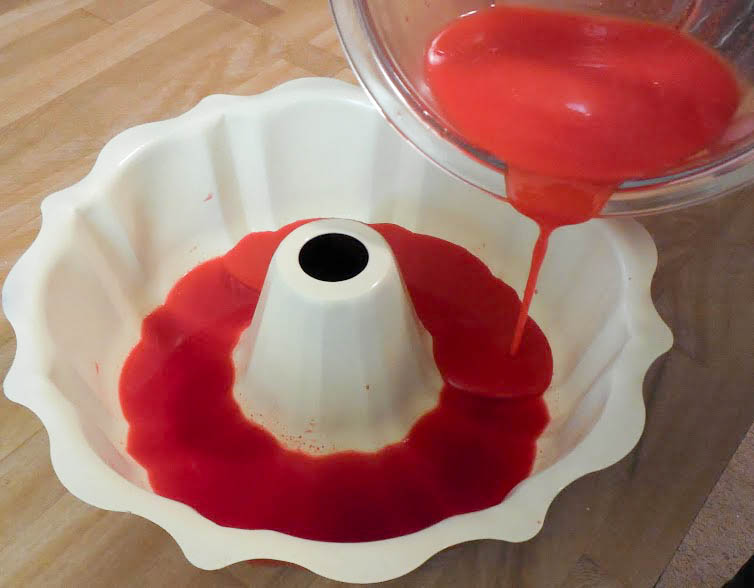
Then, pour ¾ cup of the Jello into your mold. Do this slowly, to avoid splashing so that the color won’t be on the sides of your finished mold (you can see from my picture, I was a bit overzealous with this batch and do have some color splashes. Oops!)
Place the mold in the refrigerator. Remember to make the fridge colder if you haven’t yet! Let it sit for about 10–15 minutes, or until the Jello starts to set. While waiting, put the remaining Jello mixture in a separate bowl, and refrigerate for five minutes.
There is a lot of downtime while making this recipe, which is another reason to have a friend! We took a page from the book of the lovely Hannah Hart of My Drunk Kitchen, and implemented her “clean as you go” mentality. Clean everything you’ve used so far, since you’ll be using it again shortly, and you don’t want your colors to mix.
Once five minutes has passed, remove the bowl of Jello. It still should be mostly liquid, but a bit thicker. Add in 3 tbsp of yogurt and stir until blended. If you finish this step before your mold is ready to be removed from the fridge, DO NOT PUT THE JELLO/YOGURT BACK IN THE FRIDGE. It will get chunky and will not bond to the other layers properly! I had to learn this the hard way.

After ten minutes in the fridge, check on the Jello mold. It should be just starting to solidify. Poke it gently with your finger — it should start to stick to your finger. If it doesn’t yet, put it back in the fridge for another five minutes and check again.
Now, gently pour or spoon the Jello/yogurt layer on top of the solid Jello layer in the mold. Be careful with this step, otherwise you may break through the “skin” of the top layer of Jello.
Once you’ve put it all in, put the mold back in the refrigerator for another 10-15 minutes. Don’t forget, clean as you go! This is a great time for one person to start cleaning the remaining supplies, while the other starts with the getting the water and gelatin mix ready.
Now you repeat all these steps again with the remaining colors of Jello. Each time you put the whole mold in the fridge, it should take a little less time for it to get solid enough to add the next layer.
Once you have all twelve layers (six colors, two layers each), turn the fridge back to normal coldness and let the mold sit overnight.
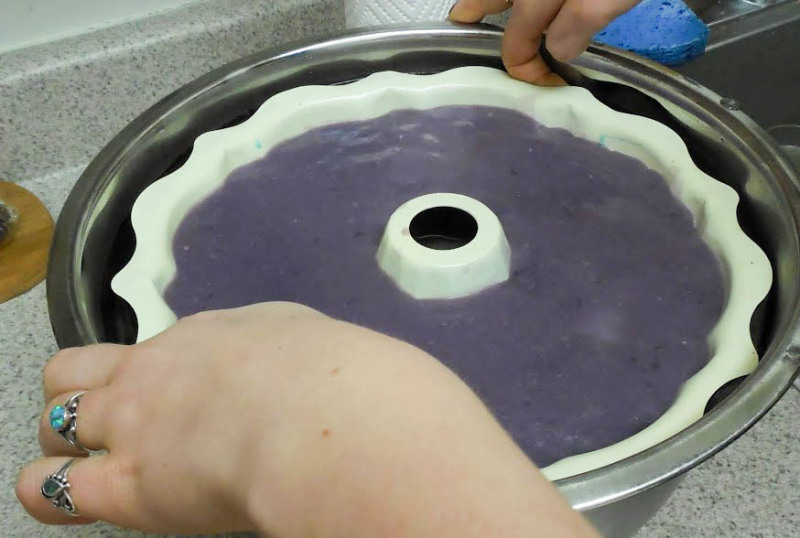
When you’re ready to eat the Jello, submerge the mold in either a bowl or sink full of warm water. You’ll see the sides of the Jello start to pull away from the mold. That’s when you know you’re ready to get it out. It should only take a few seconds to get to that point.

Now, I made a mistake this time making the Jello. When you take the Jello out of the mold, the best thing to do is to put a place or pan upside down on top of the mold. Then, quickly flip them, pull the mold off, and the free formed Jello should retain the shape. I got fancy, and tried to drop the mold from a greater height onto the pan, and the bottom layer completely splattered.
Good news is even if you make a dumb mistake like me, it still tastes awesome, even if it doesn’t look as pretty!

The final step is to enjoy the hell out of your beautiful Jello shot cake!


I LOVE this because it totally eliminates my biggest complaint with Jell-o shots: how the heck am I going to get a tray of cups in my already overcrowded fridge?
I’ve always known people to make jello shots in containers like these: http://www.webstaurantstore.com/choice-2-oz-clear-polystyrene-souffle-cup-portion-cup-2500-case/127P200C.html (and lids to go with them), then you can stack them on top of each other in the fridge and there’s less concern of spilling.
However, this is still WAAAAY cooler than that. My husband’s birthday is coming up. I may have to make this…
I’ve always done jello shots in orange halves (bonus, you get to eat delicious orange insides!). Kinda like this recipe (http://www.wikihow.com/Make-Jello-Shots-in-an-Orange), except that I stuff them wherever I can in my fridge where they won’t fall over. Or I do rest them on a muffin tray and slide that on top of all the jars on the top shelf.
When you are ready to party, you cut them into orange slices.
I did orange slice ones once too, and they are amazing. I used orange jello but this reader used all sorts of flavours and I think it looks pretty neat. When I made them I put them in cups and mugs and it was cumbersome… But your muffin tray idea? Genius.
I have been thinking about this marvellous creation since I proofread it in the schedule last week. It’s so freaking pretty! The rainbow is great, obviously — but you could do layers of whatever colours you wanted and make it colour-co-ordinated with the rest of the party’s scheme.
Do the Joghurt layers serve a purpose beyond adding variety?
Does the extra spoon of gelatin make things extra stiff?
I guess at the top of the receipe it should also say something about 6 flavours?
This looks really cool! I’m not THAT big of a fan of alcohol myself, but this should be able to be made with or without, depending on the occasion. I could imagine this being a hit at a kids birthday party, but preferably without the booze ;-).
The yogurt gives the Jello something to bond to. The flavorless gelatin makes it stiffer since Jello isn’t supposed to be made with vodka. I’ve never made it without the extra gelatin, but I assume it would be watery.
You just need six boxes of any color Jello you’d like, not necessarily rainbow! I just think rainbow is the prettiest 🙂
Yes, I am confused about the Joghurt (great name, BTW) layers as well. Maybe it helps them stick to each other? Either way it looks puuuurdy.
Eh, I have to confess that I spelled it Joghurt, because that’s what it’s spelled like around here (complete with capital letter for a noun) and I forgot that it’s yoghurt in English?
Jello shots are my true weakness. I can’t go to a party where they are not be fall down drunk. They’re just so delicious!
English jelly doesn’t set perfectly if you make it with alcohol, so I’m guessing Jello has the same issue and you need the gelatin to make it stiff enough not to crumble when it comes out the mould.
I have made this before with much success. The yogurt layer helps by creating a milky layer to distinguish colors. I have done the traditional bundt style and a giant baby mold: https://lh3.googleusercontent.com/-CIH6vv4AEE0/UeTGWlkkUaI/AAAAAAAAA7U/GQnlMymQ4v0/s640/blogger-image-1989176035.jpg
I have made the colors and kept on the counter warm, until they are ready to layer. This way they are cool, but not set till they go into the fridge. If you do not have yogurt, you can use sweetened condensed milk (1-2 Tbsp). I loved using whipped cream vodka as the alcohol, though I also tried Malibu (good) and plain rum (ok).
I just did a trial run of this! (I’m planning on making a full penis-shaped one for a friend’s bachelorette next weekend.)
My trial run was only 2 colours, but it worked really well!
I used dark rum (40%) because that’s what I had on hand, and it works really well with the jello flavours, but I’m going with plain vodka for the penis cake. The jello doesn’t necessarily need any extra flavour, and the flavoured vodkas had less alcohol 😛
I was thankfully able to find lactose-free yogurt (for the lactose-intolerant bride, I don’t know if the small amount in this recipe would cause her problems, but better safe than sorry) and it worked great! I didn’t notice any difference in texture between regular and lactose-free yogurt, so I thought it would probably be fine.
It would have been easier to mix the yogurt in with the jello if I had a small enough whisk, but a fork worked fine in a pinch.
PLEASE TELL ME YOU TOOK PICTURES OF THE PENIS SHAPED ONE AND LINK US FOR THE LOVE OF GOD
I haven’t made it yet! It’s for this weekend, but I will definitely be taking pictures 🙂
Behold: http://uglyorangecouch.tumblr.com/post/93549464358/jello-shot-cake-rainbow-penises-theres-750ml
That is amazing!!!