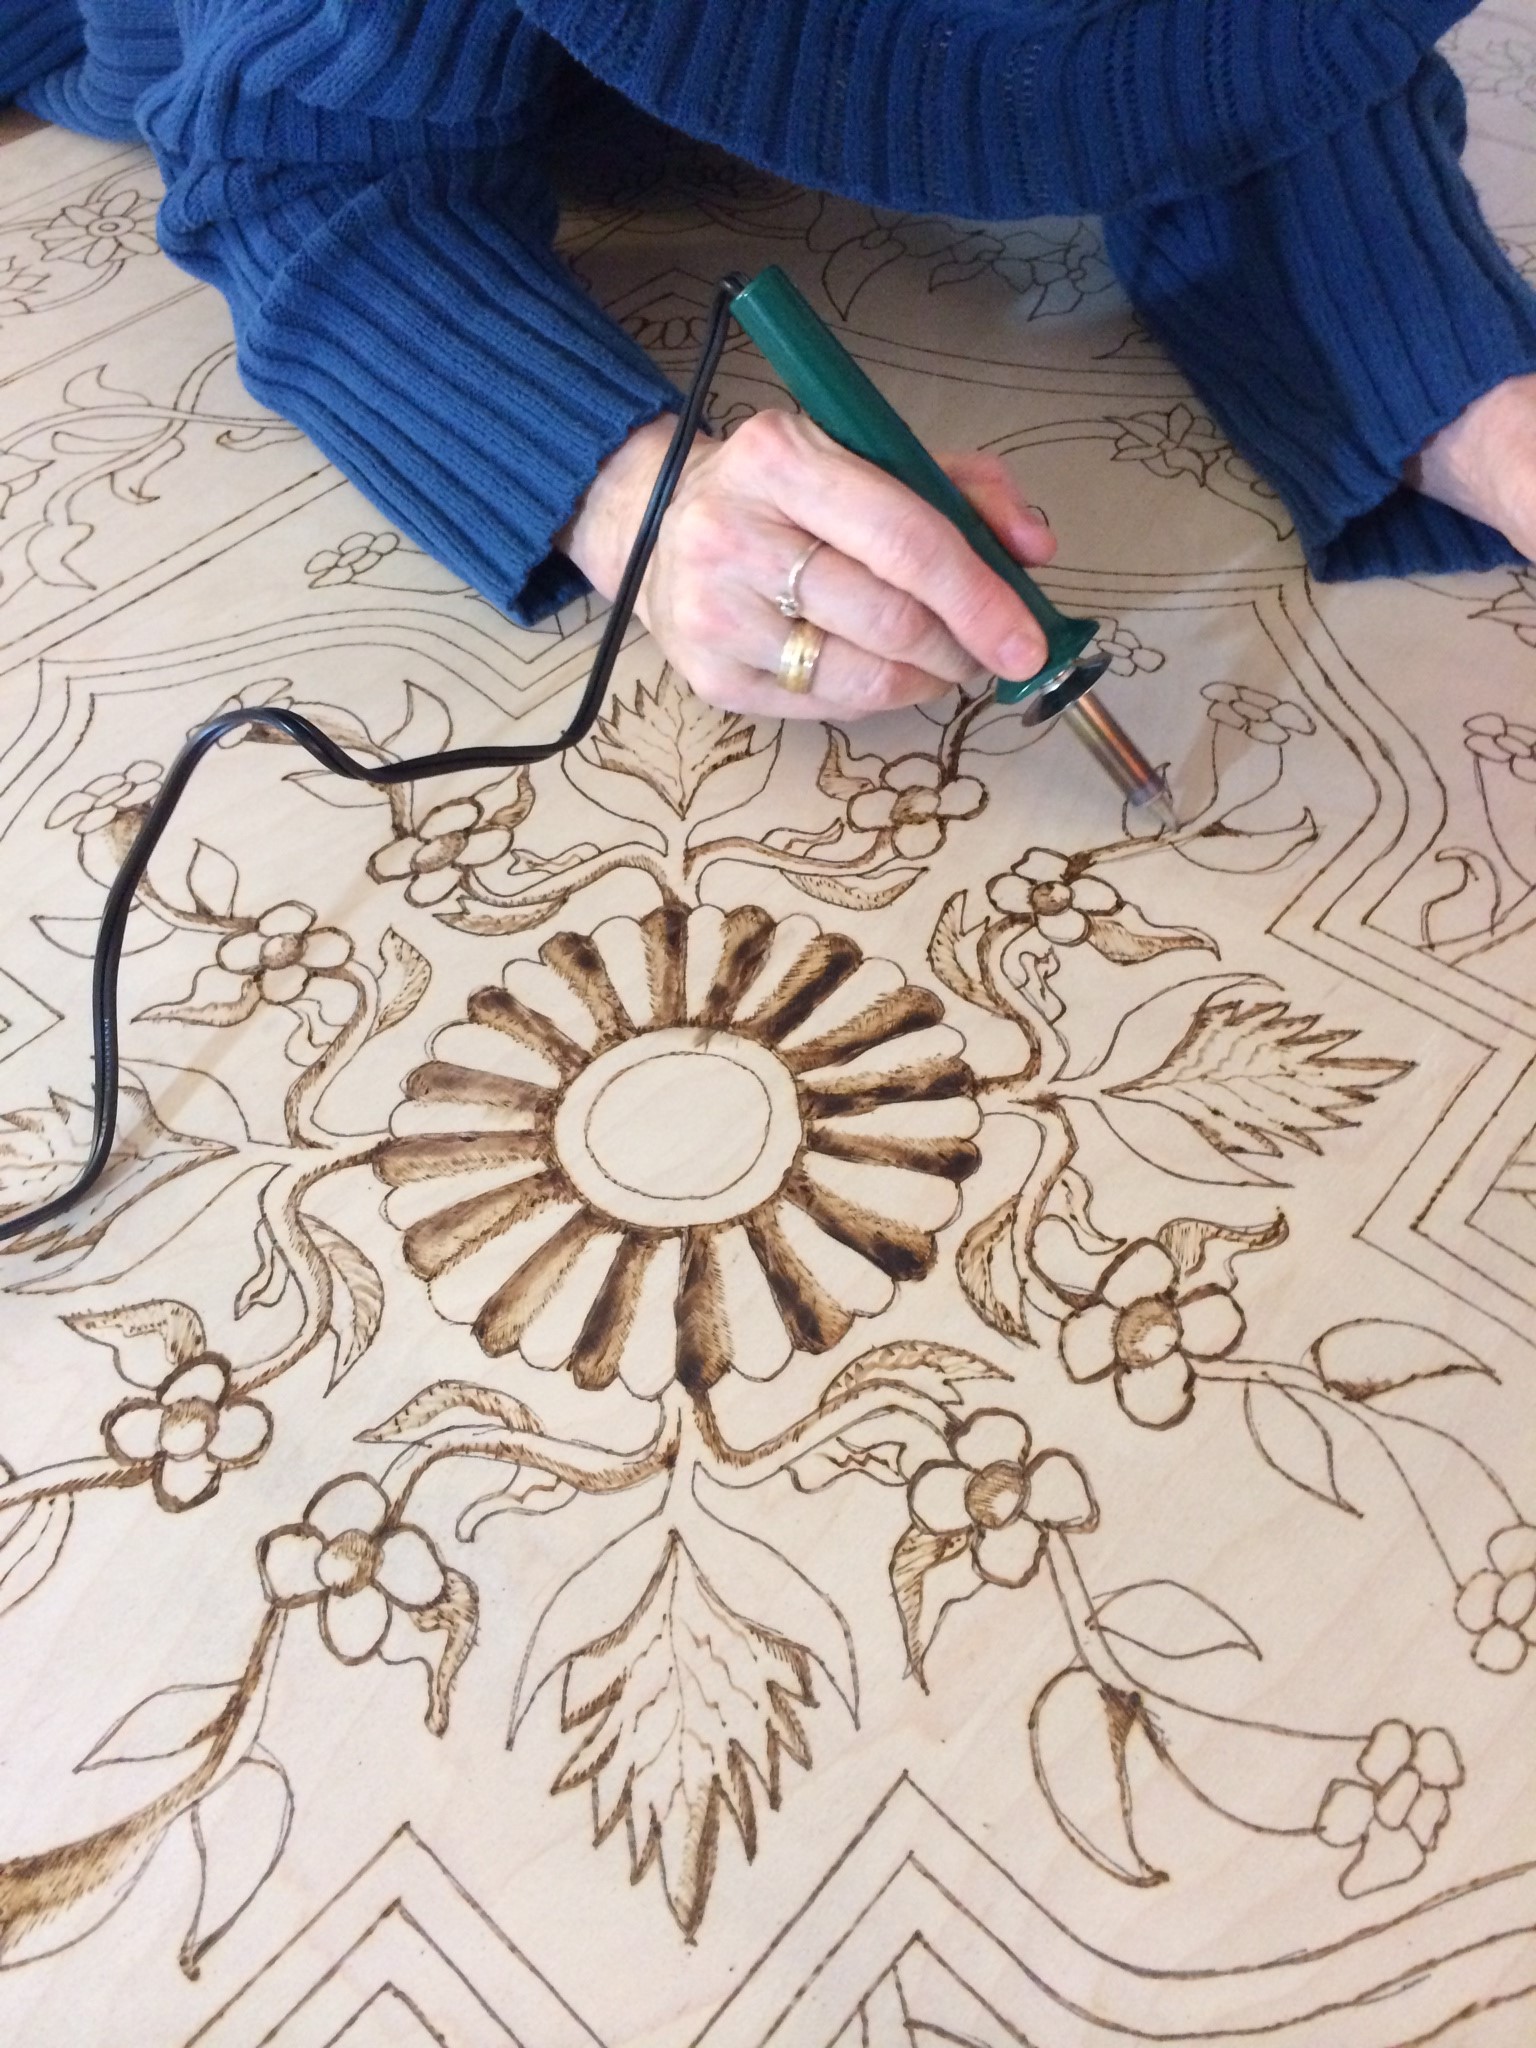
My love for pyrography, aka wood burning, came from Etsy envy. I’m going to go out on a limb and assume I’m not alone in this experience… Regular envy is a complicated enough emotion. But Etsy envy? Hoo, boy.
That’s the thing about Etsy envy: it’s emotional alchemy
It starts simply enough. You see a really cool craft that someone’s selling online. You want it. You know you shouldn’t spend the money on it. You wonder if you can make it. You watch tutorials. You see other people’s failures and their successes. You gain confidence in your creative ability. You justify spending the money on the materials (sometimes adding up to way more than the initial item). And then, suddenly, you’re sitting at your worktable with all your new tools before you, and that covetous feeling of envy melts away into pure, raw creative power.
In an effort to share this most exciting of journeys with you, my dearest DIY Homies, here are the things you will need to start your pyrographical adventure from Etsy envy to unfettered creativity.
How to get into wood burning:
Gather the tools
I’m convinced that one of the reasons I fell in love with pyrography is because it’s a badass craft that is also quite affordable. I’d love to get into large-scale metal sculpting, for example, but I simply don’t have the wherewithal to invest in the tools and materials. Introductory wood burning tools are wonderfully affordable. The biggest investment of all is the pyrography pen, which can range anywhere from $12 – $200 — depending on how detailed you want to get with your first project. After that, the materials are all super simple, and a little bit goes a long way.
- Pyrography pen
- Wood scraps
- Graphite transfer paper
- Ball point pen or stylus
- Pre-printed pattern (optional)
Start simple
Herein lies the biggest downfall of the Etsy envious: they sometimes get a little too ambitious. Remember, people who have Etsy shops put in a lot of time to hone their craft and master their product. It didn’t just happen overnight for them, and neither will it for you.
Get used to your pyrography tool by choosing a simple first project. If you shoot for the Mona Lisa on your first try, you’ll probably be disappointed. Even if you’re not a pattern person, it can’t hurt to start with a template. It can even be one you draw yourself. Use your first project as an opportunity to play with the different pen tips, pressure, movement, and heat settings.

Make a dedicated workspace
If you’re a regular DIYer, there’s a good chance you already have a worktable all set up. If not, consider yourself lucky because it’s really fun to do. Whether you have an entire room dedicated to creation or just a nook in the corner of the bedroom, the only real requirements of a workspace are the following:
- There’s something creatively inspiring about the space
- There’s enough elbow room to move around
- A stable worktable
- Electrical outlets nearby
- Good lighting
After the worktable, a good light source is arguably the most important element of a crafting workspace. If you don’t have good light, you won’t be able to see or execute any nuance in your projects. The smaller the space you’re crafting in, the more important it is to choose your light wisely.

Have at it
The key takeaway for a beginning wood burner is that, yes, there is a learning curve. You can have all the right tools and equipment, but you will still not be able to make a masterpiece on your first try. But don’t let that reverse-alchemize your Etsy-envy-driven creative process. Remember that the learning curve is just as much a part of the process of discovery as the finished product. In fact, that’s the glory of DIY.


I remember having a lot of fun with a simple wood burning kit when I was a kid. I wonder if my parents still have it stashed away somewhere…
I relate to that second paragraph so much. So many unfinished craft projects at my house.