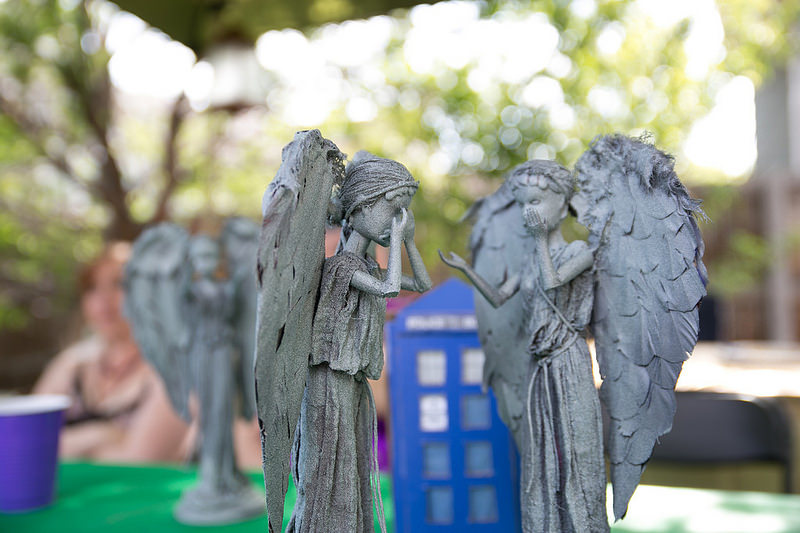
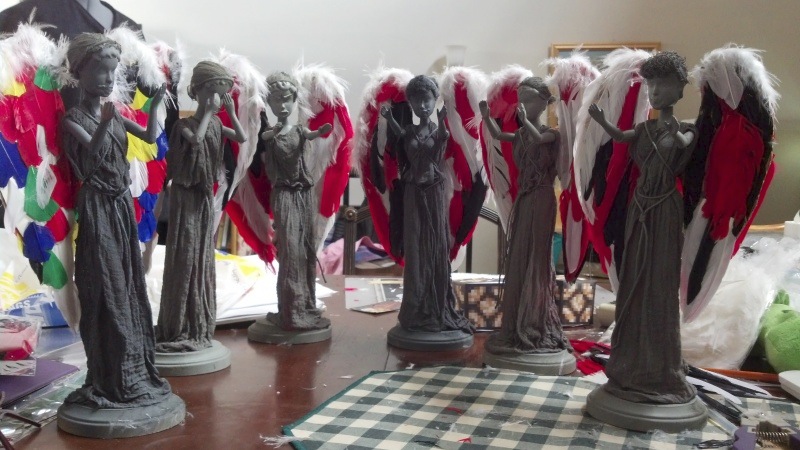
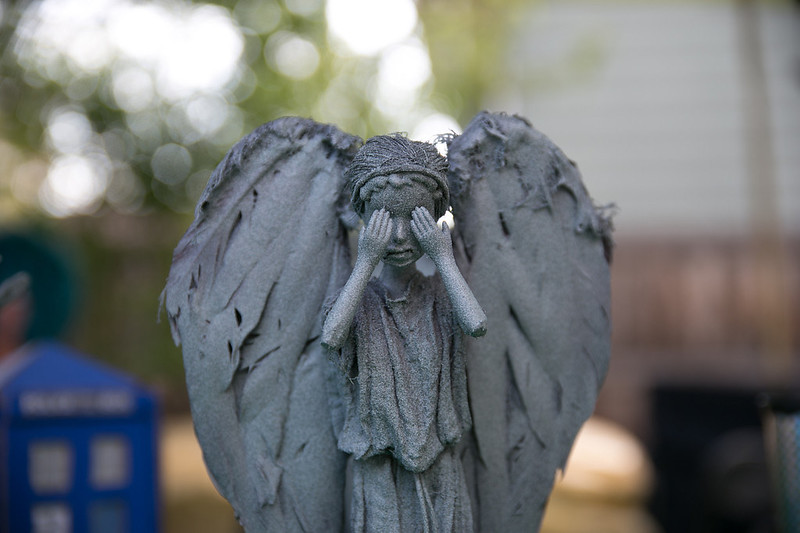
All told this, project took: six Barbies, two cans of primer, two cans of Stone paint, four bags of feathers, less than half a yard of fabric, miles of hot glue (get the big bag of hot glue sticks), and a shit-ton of patience. However it was so worth it!
Here’s how you can hack your Barbies into Weeping Angels…

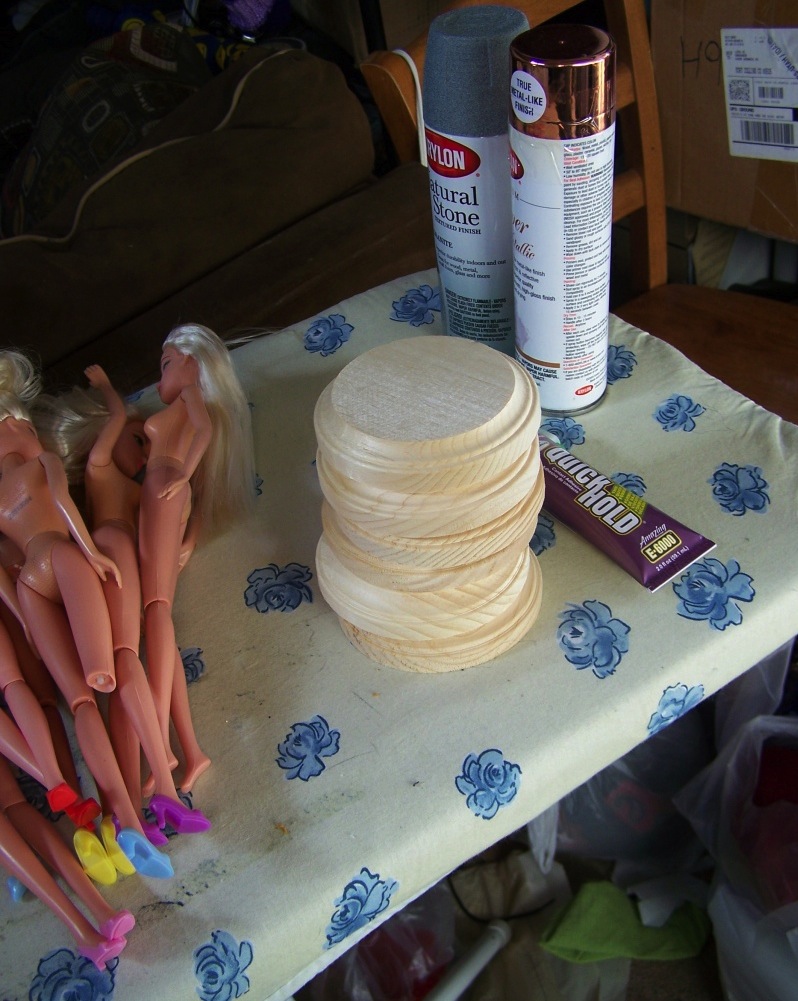
You will need:
- Barbies (or cheap Barbie-esque knock-offs)
- Primer
- Natural Stone Krylon paint
- Cutting tool (I used a rotary cutter)
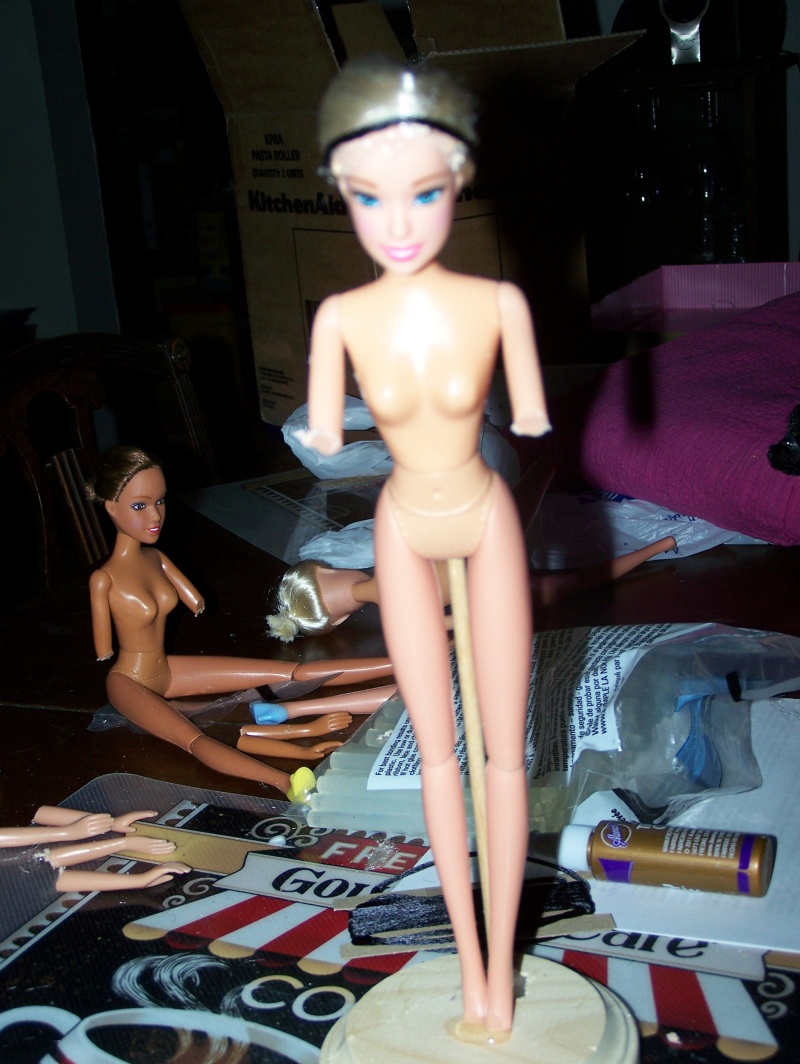
- Something to hold the Barbies in place
- Small round wooden plaques
- 1/4″ dowels
- Hot glue
- Fabric — I found crinkle cotton was a good way to get the drape I wanted.
- String
- Spray bottle filled with 50/50 Elmer’s Glue and water
- Cardboard
- Feathers
- Ultra fine-tipped Sharpie








Our photographer went to use the restroom, and came out saying, “That’s not right — you can’t watch what you’re doing and keep an eye on the weeping angel at the same time!”
And so they began to move…
Related posts:




I remember seeing the same idea a few years earlier.
http://wich-crafts.blogspot.com/2011/03/dont-blink.html
That is so cool my 7 year old Barbie freak would flip out. Lol
Love this idea and thanks for sharing the steps to make playscale Weeping Angels. They are one of the creepiest Doctor Who villains. Brrrr …
I collect Barbies and other playscale dolls and action figures. This is a creative and fun way to use broken and/or stained figures.
Might be possible to use some of the taller Barbie stands instead of the dowel and plaque. I’m also wondering if there are some ready made fashions that I could use as gowns.
Thanks. If I work on this project, I’ll link back to you 😉
This is wonderful! I’ve printed out your great instructions. So, I can use this to create all sorts of fun doll projects! Thanks so much for sharing this! Big Squishy Hugs!
This is great. I am going to do this for my niece. She is a major Dr. Who fan. Granted it won’t be a 100% Dr. Who item, it’s still something different.
Way back when, in art class, I made wings for a barbie doll by using a caulking gun. I smeared short (2″ max) caulking onto wax paper and let it dry. It ended up looking like little feathers, then I glued them onto a wing I made of … hmm.. I think I made the wing frame out of a wire hanger and pantyhose stretched over it. Cardboard would work well.
I think that would work well for these wings as well – much smaller ‘feathers’, but it did look amazing when I was done. I wish I had a picture.
Really cool idea. Thanks for the directions.
You, my dear, are a genius!
You are amazing! Thanks for sharing.
THE IMAGE OF AN ANGEL IS AN ANGEL.
If you want to make more interesting hair styles than just the buns, I used regular glue and straws to fashion the hair into huge banana curls. Take a section of hair, soak it down with glue, and wrap the wet glue section around a straw. Once the glue is dry, take the straw out. I also made one with what ended up looking like giant cinnamon buns all over her head (oops), and a string-wrapped braid that turned out very Grecian looking.
Best DIY ever. I want to do this even if I don’t have a party.
I totally did this project and it turned out awesome! I ended up skipping the step when you spray them with glue because my spray bottle wasnt spraying, it was more streaming if you will, and by that point I was a woman on a mission. But I ended up getting most of my supplies at the thrift store. They turned out amazing, thanks for sharing!!!
This is amazing and blowing away-ish and so past cool I don’t know what else to say. What an amazing idea and execution. Thanks for the detailed instructions but I fear it is too complicated for me so I’ll just enjoy it on your page.
I hope this isn’t too dramatic for the no-dramatic comment policy. It’s just dramatically amazing.
Remember, don’t blink!
You could probably do the same process on used manikins, to make them life size. I’ve been looking for life sized ones
Company in IUK that got permission to recreate life sized Angles! BUT… the cost to ship to me in CA USA was $$$ so I gave up on that! Good luck!
How did you make their mouths look right? Just glue?
Great googly moogly. You’re bloody brillant.
don’t tell my bride!!! but i’m totally going to make a ‘crown’ of these for her dr who themed wedding bwhahahahaahahhahahahahaahah 🙂 i’m so excited!!!! just have to get the spray paint/primer next!
totally making them right now!!!!!!!!!!!!!!!!!!!!!!!!!!!!!!!
i’m making it as a headpiece though to wear at a wedding : )
we’ll see how it goes! i have yet to get the wings on LOL
p.s. THANK YOU THANK YOU!!!!!!!!!!!! i just went through this tutorial and made some for the wedding i was photographing. 🙂 Amazing times, amazing inspirations…and VERY EASY!!! I took some liberties and ended up making a hat. It was super super fun.
Here is a link to the photo of me wearing it!!!!
https://flic.kr/p/pFhzPA
The wedding was Time Travel / period wear / Dr Who themes!!!! 🙂
p.s. i used dollar store barbies here locally – and they were HOLLOW!!!! *gasp*…so when i cut her arms off i felt bad – she has holes LOL 🙂 The paints were PERFECTION.
Ingenious! Well done! Bravo!
WOW. way more work than i put into my Barbie Centauri Household God for Babylon 5 https://twitter.com/CAGarvie/status/534373834435362816
Fantastico! Idea geniale, bravissima:)
I made one of these for my daughter for her birthday! She loved it!!! Thank you so much for the excellent, detailed directions!
I love Barbie, I have collected them for more than 45 years.
With this said? Many people have redone Barbies into their own version it is called “OOAK”(OOAK is an abbreviation used to mean one of a kind. This abbreviation would be used by the seller to indicate that the item for sale is rare, unique, or a handcrafted original. ).
So you have not done anything original. There are some fantastic remade Barbies out there and I own several.
So the real point of my comment, is that you did not use Barbies, in making your OOAK Weeping Angels. You used generic dolls, I looked at the packaging and then the dolls in your post.
They are neither from the Barbie Franchise, nor from the Disney Princess line (which is NOT Barbie, either). They look like cheap knockoffs, which I am sure they are, why would you work with dolls that are worth money?
I really enjoyed your how to, and I will probably do this with my family, it looks fun and I can create a 10th Doctor and Amy Pond dolls to go with the whole.
So there is no reason to fake apologize for using or abusing Barbie.
Because you did not.