July 31st is Harry Potter’s birthday. In honor of our favorite wizard, here’s a DIY post from Homie Amanda of “pies in cake” fame…

I would say that most of the decor in our house is fairly “normal” — modern, beautiful, but normal. We don’t have a ton of geeky art displayed everywhere (except in my partner’s office). We tend to appreciate more subtle hints of geekery. However, those items tend to be hard to find in the wild, so sometimes you have to create your own.
A while back, I discovered Harter’s Wands on Etsy. You send them the screenshot of your wand from Pottermore, and they will make one to (pretty much) the exact specifications (unfortunately, dragon heartstring/unicorn hair/phoenix tail feather not included… I’m assuming… I haven’t broken mine to check).
Only, what do you do with a wand once you have it?
You make a wand display plaque, of course!

Here’s what you need:
- Wooden plaque, size/shape of your liking (just make sure it’s longer than your wand)Related Post
 Make your own Mandrake
My fiancé and I finished making our very own Mandrake to use as a centerpiece. I'm pretty stoked on how he turned out, and I... Read more
- Wood stain
- Polyurethane sealant
- Metal screw-in hooks
- Paint pen
- Old rags/towels
- Pliers
- Ruler/measuring tape
- Paint brush with synthetic bristles
- Sandpaper

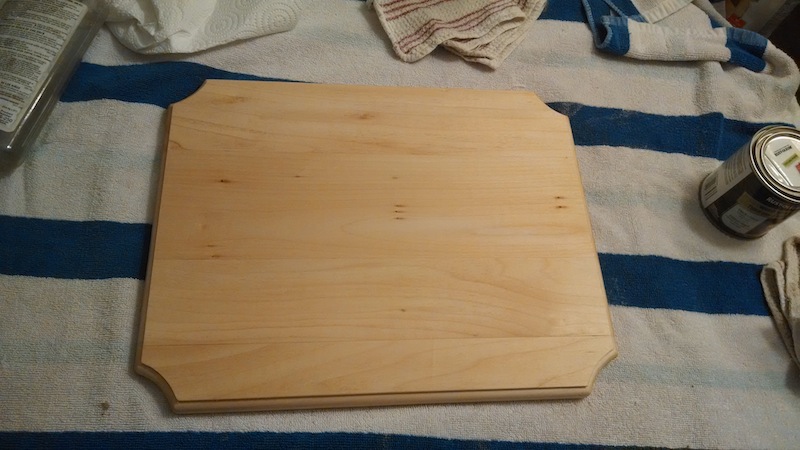
First, you need to sand your plaque. The instructions on the can of stain will tell you what type of sandpaper to use, but I only had 220 grit and it worked fine. Make sure you sand with the grain. As far as how much to sand it goes… guess. That’s what I did!
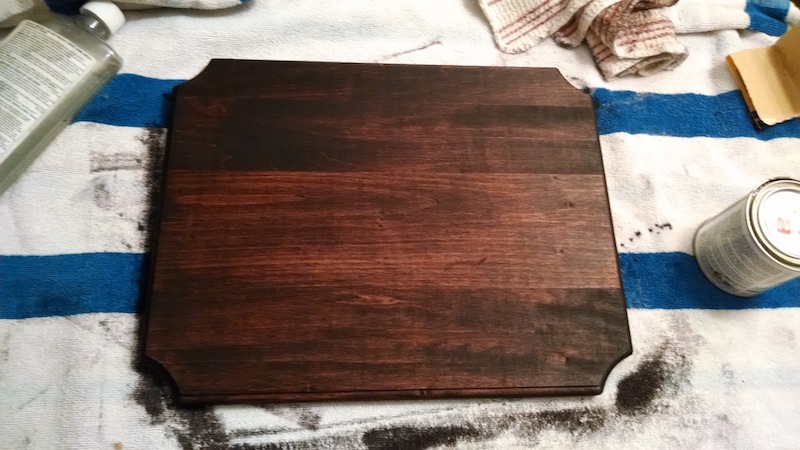
Then, stain your plaque according to the directions on the can of stain. The color I used is black cherry. The kind of stain I got only requires one coat, which was nice.
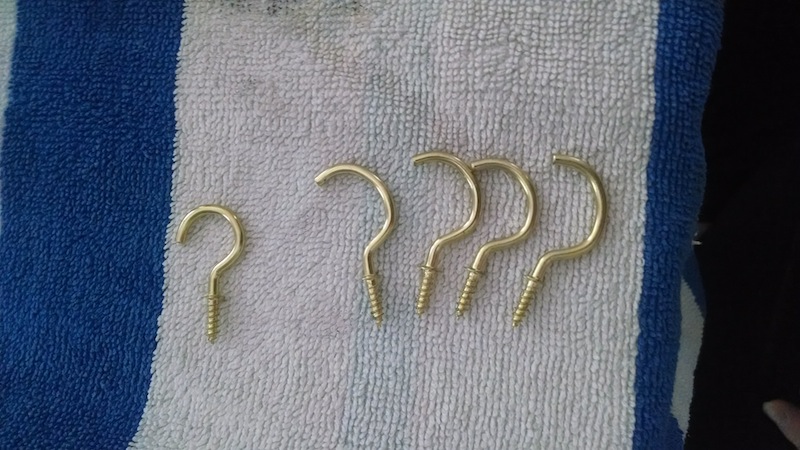
While you wait for your stain to dry, work on your hooks. The hooks I got were actually too small for the handle of the wand to fit in, so I bent them with pliers. Worked like a charm!

Once your stain is dry, figure out where you want your hooks. As far as vertical alignment goes, I was putting two wands on one plaque, so I just divided the height into thirds and put the hooks ⅓ and ⅔ of the way down. For horizontal alignment, I just eyeballed it by setting the wands on the plaque and deciding how I wanted them to sit. Now screw the hooks in.

If you want your name(s) on the plaque, now is when you’ll do that. I found the “Lumos” font to download for free and used that. I printed out our names in the correct size, cut them out, and arranged them how I wanted on the plaque.
Then, I traced the letters with a pen, pressing down heavily in order to make marks in the wood. I wanted to make lines that I could trace with the paint pen. I had to press really hard and go over each line a few times.
Then carefully trace over your markings with the paint pen. Let dry.
Seal the wood with the polyurethane once the names have dried. Just remove the hooks and follow the polyurethane package directions.
Then screw the hooks back in, attach a hanging implement on the back, add some wands, and display!
Now your wands are ready for you to grab for a wizard’s duel at a moment’s notice! And, in the meantime, they look pretty snazzy.
This is brilliant! I wonder, has anyone done anything similar with Sailor Moon wands or Doctor Who sonic screwdrivers? I’d love to see pics of that.
That would be cool. I would also like to see that.
Me too. Really could use ideas for DIY geek decor that look as nice as this one. Mine turn out kinda lame…
So, I of course upon reading this went and created a Pottermore login. I didn’t love but didn’t mind the wand assigned me… but it put me in Hufflepuff, not Ravenclaw which is clearly where I belong, so I left the site again. Still, fun!
Sorry you didn’t get put in Ravenclaw. My husband was a Ravenclaw/Slytherin hatstall, and chose Ravenclaw, but it really should have put him in Ravenclaw from the start.
It’s really interesting because it gives you different numbers of questions based on how strongly you’re showing qualities for a house. So, my quiz was only like 7 questions long (the hat didn’t even touch my head before yelling “Gryffindor!”), but my husband’s was like 20+ questions.
Hufflepuff is where I was sorted too! And to be honest, I was bummed…UNTIL I read this article. Made some interesting points and made me okay with where I ended up.
http://thoughtcatalog.com/lev-novak/2014/07/in-defense-of-hufflepuff/
Y’all are making me want to sign up…
I would totally read and Offbeat Empire article detailing the staff’s wands/houses…
…just sayin’.
They look great!
wow! incredible!