Pour-over coffee is excellent, but the brew methods can be somewhat complicated and require specialized equipment — which isn’t considered “budget” by any means. But making filtered, pour-over coffee at home doesn’t always have to mean expensive or sophisticated tools. By using some ingenuity and household items, you too can make great filtered coffee at home!
Here’s my cheaper, DIY alternative that will allow you to create a great pour-over coffee experience without the extra cost…
Quick intro to the process:
Check out this video on proper pour-over technique and form — which gives you an idea of how meticulous it should be…
What you’ll need:
- Freshly ground coffee (moderately fine grind or the consistency of playground sand is ideal)
- Hot water (just taken off boiling)
- A standard paper coffee filter (or, see Alternatives Below)
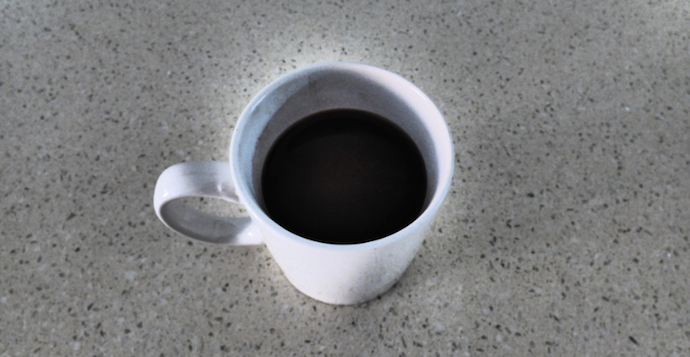
- Large mug
- Paper clips, elastic bands, or any other office supply to hold the filter in place
Makeshift coffee filter
If you don’t have any paper coffee filters at home, don’t worry. You can create a coffee filter from handkerchiefs, loose pieces of cloth, or sturdy paper towels. The important thing to remember is that anything you choose to be a filter needs to be thick enough to manage a slow and steady pour and reduce sediment entering the coffee cup.
How to make pour-over coffee without a coffee maker
Step 1: Prepare your filter
To make your makeshift brewer, you’ll first need to attach your filter to the mug.
 Mouse poops helped me give up coffee
Some people might think this is blasphemy, but I gave up my coffee habit. I work overnights. I wake up when the rest of the... Read more
Take your paper (or alternative) filter and place it inside of your cup. Attach your filter onto the cup and hold it there using whatever attachment you have available.
I used a standard handkerchief (yes, we washed it first) and simply folding it to make it fit snugly in our cup:
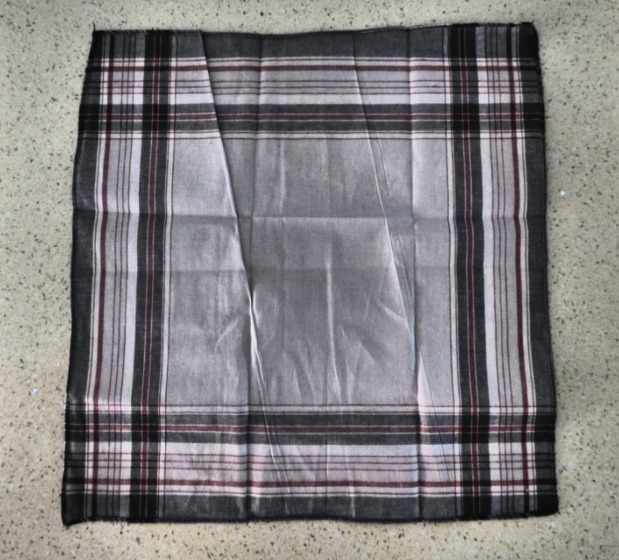
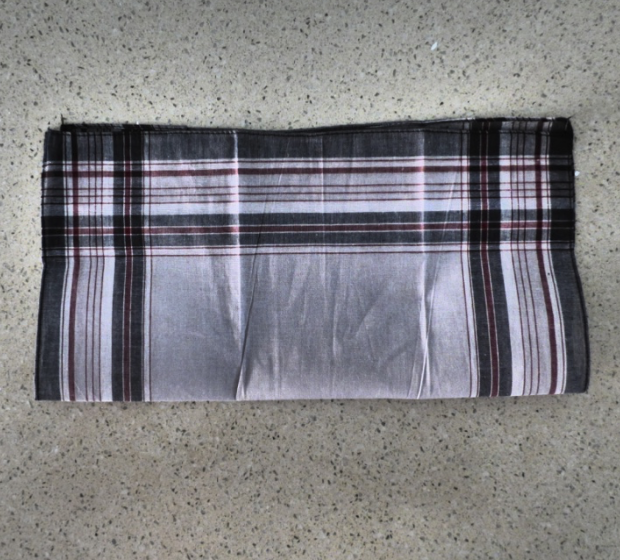
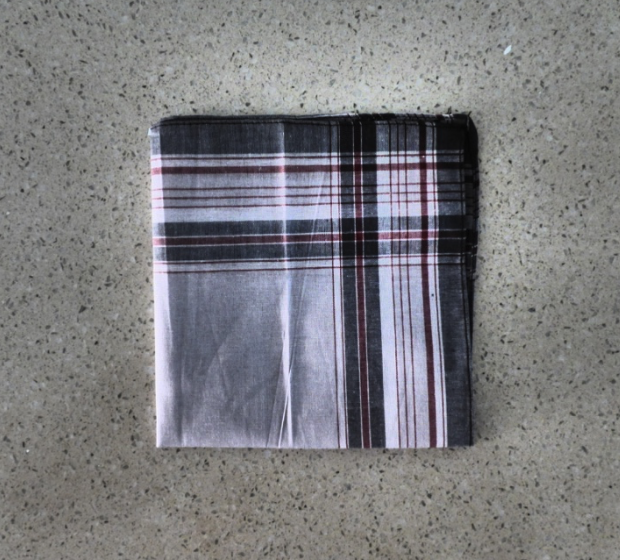
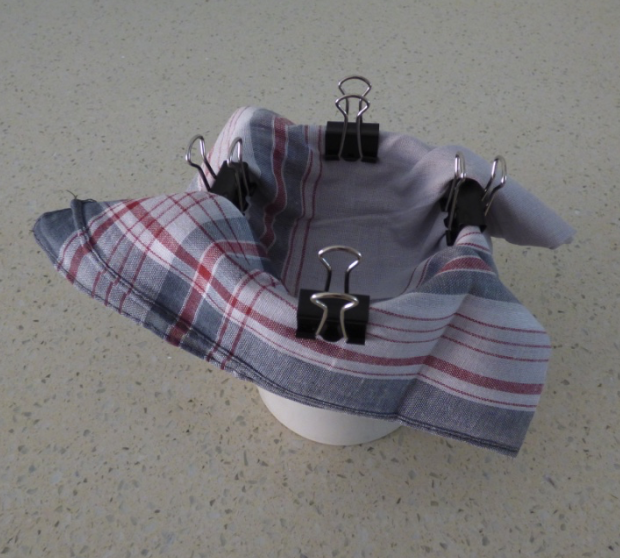
The bottom of the filter should sit about halfway or slightly higher in the cup. Make sure to leave a little extra cloth over the side as the weight of the water will slightly pull on the filter.
Step 2: Grind your coffee
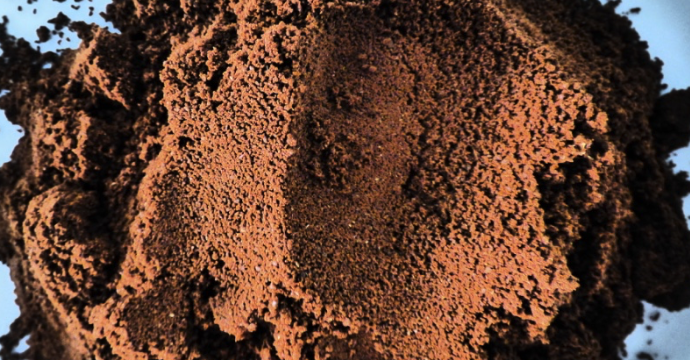
Grind your coffee to a medium fine texture; your grind should look similar to fine sand or slightly coarser.
For best results use a burr grinder like the Hario Skerton, because it will help create an even texture in your grind. For one cup of coffee, grind about 2-3 generously portioned tablespoons.
Step 3: Boil water and wet your filter
Once your water starts boiling, pull it off of the burner. Pour some hot water through the filter, let it sit for a few seconds, then pour it out.
For paper or cloth filters, this will help to remove the extra fibers and bitterness from the filter.
You may need to temporarily eliminate some of the attachments to pour out all of the water. Make sure that you properly reattach the filter and make it tight and secure.
After you wet the filter, measure out about a full coffee mug of hot water into your pouring vessel — let’s do this!
Step 4: Add coffee into your filter
As you insert the grounds into the filter, make sure that you tap the grounds around until they lay evenly in the cup.
If the coffee is not even, your run the risk of channeling and over extracting portions of the grounds making your coffee taste bitter and chalky.
Step 5: Bloom your coffee
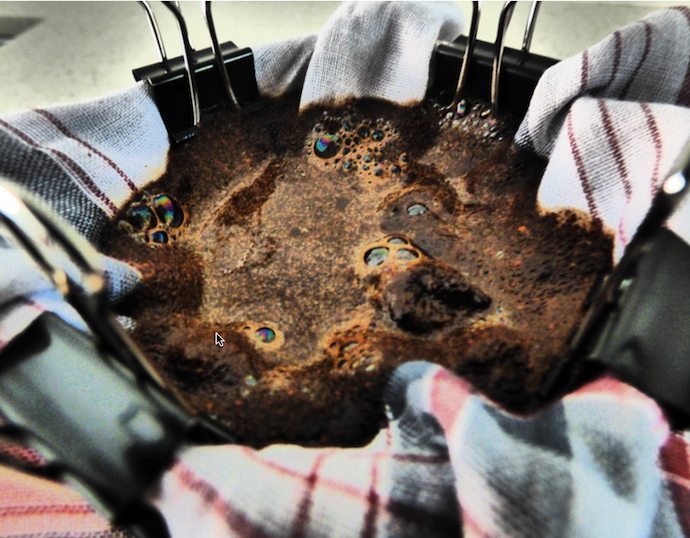
To unlock the aromas and flavors of coffee, you need to allow your coffee to “bloom.” To do this, pour a little bit of water to completely submerge the grounds. Let this sit for about 30 seconds.
After the 30 seconds, stir the grounds once or twice and pour enough water to touch the top of the filter.
This is important to let the coffee de-gas and expel the Carbon Dioxide — leading to a better tasting brew in the end.
Step 6: Continue pouring
Once the bubbling/blooming begins to subside — usually at around 30 seconds — you are now ready to continue pouring your water. Continue pouring water until you have no more water, which in essence, should take you roughly three minutes for one cup.
The pouring process will take multiple smaller pour’s as the filter may slow down the extraction process.
If you are using a cloth filter, you may need to use a spoon to agitate the grounds slightly to get the coffee to filter into the cup.
Step 7: Remove the filter
After about two minutes, the water should be completely drained through the grounds and into your coffee cup.
If there is still water in the grounds and it does not seem to be flowing, it usually means your cup is full. Carefully remove the attachments and lift the filter up, and allow the rest of the water to drain through the grounds.
Step 8: Enjoy your homemade brew!
Sit down, relax and be proud of the accomplishment you made in your kitchen today!
Have you tried this experiment? Are there other ways you have tried DIY brewing at home?
Oh my gosh. It’s like you read my mind. I really REALLY needed this post! I have some pour-over coffee that I got as a gift but I don’t drink coffee enough to own a coffee maker of any kind, and I didn’t really want to buy one for just this. I can’t wait to try this! Thank you!
No Problem!
You really don’t need all the bells and whistles to make a good pour over if you imitate the principles – which are: freshly ground coffee, a filter of some sort and a steady hand for slow pouring!
Enjoy!
A melitta plastic cone style filter holder is 5$ on amazon, the cone paper filters that fit the holder are 5$ at Wally. I have done this pour over stuff for 40y. My father our bought first cemex into our home in the early ’80s. This is nothing new, what’s new is just the marketing crap to sell 300$ makers, for a .45c cuppa.
Its all about the beans, and the actual pour! Not about the cost or color of the overpriced equipment. I refuse to pay for some damn coffee executive’s vacation to Hawaii. Mk, Il
We’ve already switched to homemade cold brew for the season, but I’ll have to remember this as an alternative to our French press in the cooler months! 🙂
Nice! Good move switching to cold brew.
How are you making cold brew? You can actually make a mean cold brew using just your French press (or an Aeropress is you have one of those)
I make it in a pretty large pitcher – approx. 7 oz freshly ground coffee and 40 oz cool filtered water. I like to do a larger container because there are two of us drinking it and I don’t have time to make it more than once a week 🙂 I filter through a fairly fine sieve first, then again through a filter placed inside the sieve (not usually a real coffee filter – more often paper towels or a cloth tea towel). I should probably go for a third round of filtration but I grew up drinking strong, thick Greek coffee so I don’t mind if there’s a tiny layer of fine grounds at the bottom of the cold brew.
I’ve been using a Melitta single serve pour over cone for the last several years. super cheap ($3.99) and you can use regular coffee filters or get the specific filters in all different materials:
http://www.melitta.com/en/Products-1790,69398,72535.html
I’m not the biggest fan of drinking coffee that comes into contact with plastic (like I said, I’m a coffee snob) however the Melitta gets the job done, especially on camping trips!
My mom is really anti-plastic, so she uses a ceramic cone with Melitta filters. She bought me one that was just over $5.00 from Cost Plus World Market (http://www.worldmarket.com/product/white-euro-coffee-dripper.do?sortby=ourPicks). Mine only has one hole to drain in the bottom; hers (not sure where it’s from) is a bit better quality and has three. I’m not sure how much of a difference that makes? I use it when I’m just brewing for one, but I haven’t mastered the pour-over technique yet, so thanks for the tips!
I always love coffee-related posts on OBH!
On the subject of toxicity, I’m concerned about the idea of using a colorful handkerchief for this. Many fabric dyes are carcinogenic or otherwise toxic – the trace amounts we’re exposed to from typical fabric use is probably fine, but if you’re regularly pouring hot water through them and then drinking it, that’s a much higher toxin exposure. If it’s important to you to use fabric, I would suggest finding something not dyed or bleached. There are cloth filters available at many some health food stores, and this wikihow page has directions to make your own: http://www.wikihow.com/Make-a-Reusable-Coffee-Filter.
(Sidenote not related to toxins – when I’ve used rubber bands to hold filters in place, it’s taken *forever* for the coffee to filter through. I think a clips or a cone work better because they allow air to escape from the cup.)
I’ve wanted to get one of those steampunky looking pour-over things from Etsy for ages – this will be a great way to test out my preference for pour-over before I get one! We currently have a Presso, which is awesome 🙂
Great idea – ‘try before you buy’
One caveat though – I find its hard to beat a pro-pour over when you do it yourself with any old materials. If you are good, you’ll get a nice brew, but i’d still encourage you to pop into a local coffee shop that specializes in pour over (e.g. Bluebottle)
I’ll have to do some research into where might have this in New Zealand!
I actually did something like this when my power was out forever. My gas burners still worked, or could have maybe used my gas grill. (Snow & ice outside.) Wished I’d had my old aluminum coffee perculator.
Two words: French Press. Less than 20 bucks, no filter needed, and the coffee only comes into contact with glass and steel. http://smile.amazon.com/Bodum-Brazil-French-Coffee-34-Ounce/dp/B000KEM4TQ/ref=sr_1_7?s=home-garden&ie=UTF8&qid=1461669691&sr=1-7&keywords=french+press
Good point Naomi – almost every pantry has a French Press. But what if you don’t have one handy?
French press coffee uses steeping to brew, where as this method uses filtration/dripping to brew (you get different taste in the end)
The best thing about it is – a makeshift filter costs much less than a $20 French Press!
🙂
It kind of cracks me up that this is a thing now. This was what I did 16 years ago when I was studying abroad in Ireland and, as the only coffee-drinker in my student flat, decided it wasn’t worth buying a coffee maker that I’d only use for a year (I was also broke). I used a rubber band to hold a coffee filter over my mug, put my coffee grounds in, heated the electric kettle, and poured the water in slowly enough that it didn’t overflow. That, to me, was just a cheap-ass way of making coffee. 🙂 I am amused that I can say “I was drinking pour-over coffee before it was cool,” and sound like a meta-hipster!
I see what you said about plastic, but still. Aeropress. Easy, no overly complicated technique necessary–but it is an option if you want to get fancy–and cheap. So cheap. Makes delicious coffee even from inexpensive, store-brand, pre-ground coffee beans. Makes delicious coffee at work. Makes delicious coffee in two minutes. Makes instant lattes or iced coffee. The plastic is heat-resistant and BPA free. http://www.aerobie.com/aeropress/aeropress-materials/
So people should MacGyver a filter to save money, but buy a burr grinder? The filters aren’t the wallet-breaking part of this equation.