
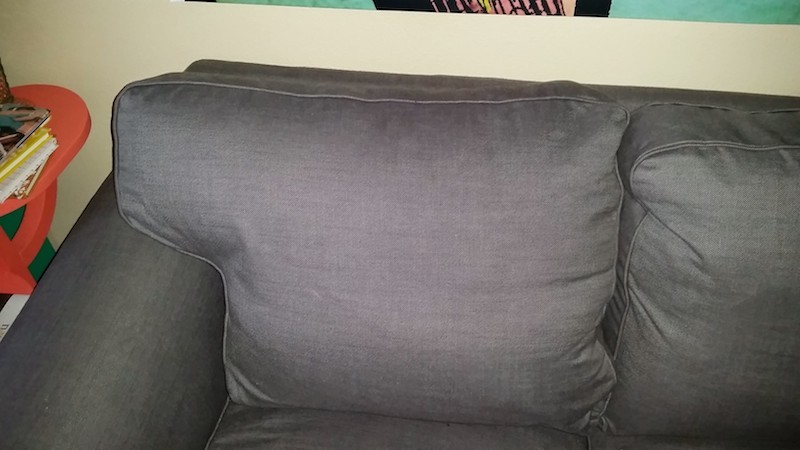
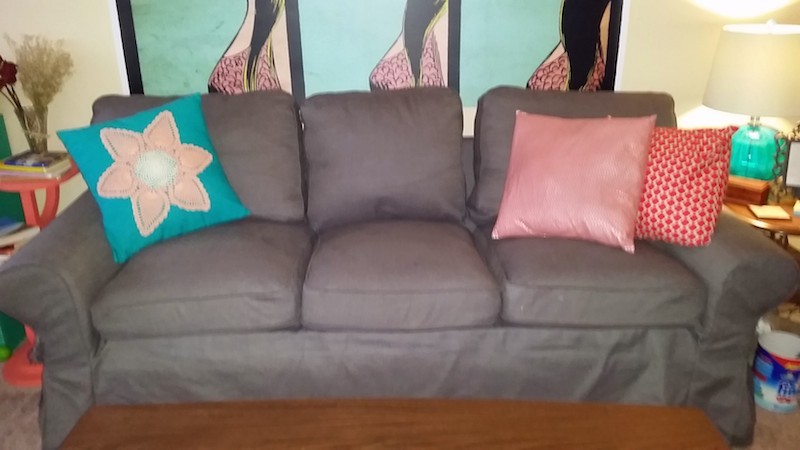
My couch is an old Ikea couch that I bought from someone on Craigslist during my “poor” college years. It had gotten to the point of being so saggy and deflated, that my guests and myself could no longer sit on it comfortably. There were three parts of the couch that really needed help — the back cushions which were totally “deflated,” the seat cushions which were also very sunken and flat, and the base of the couch which is hard wood planks (no springs even!).
I’m in a bit of an awkward position because I can’t afford to buy a brand new (nice) couch right at the moment, but I do intend to replace this old couch within a year. Thus, I need to have a useable, comfortable couch until I can replace it, but don’t want to put any more money into it than I have to.
Most of the couch refurbishing articles and tutorials I read and watched online involved lots of expensive supplies and a ton of messy work, which I was not prepared to handle, nor could I afford! So with the Interwebz as my guide, I did a few more hours of research about couches and successfully “made over” my sad old couch for under $50.
Here’s how I did it…
Supplies:
• Three standard bed pillows (I used old ones, so $0 for me!)
• Three rectangular pieces of foam ($4.99 each)
• One large foam slab ($21)
• Polyfill (I used stuffing from a large body pillow that cost $15)
 Craigslist chair makeover (kitty-approved!)
Kristen took a $40 pair of Craigslist chairs that had CLEARLY seen better days and gave them a painted, glazed, and upholstered makeover that is... Read more
Part I: The back cushions
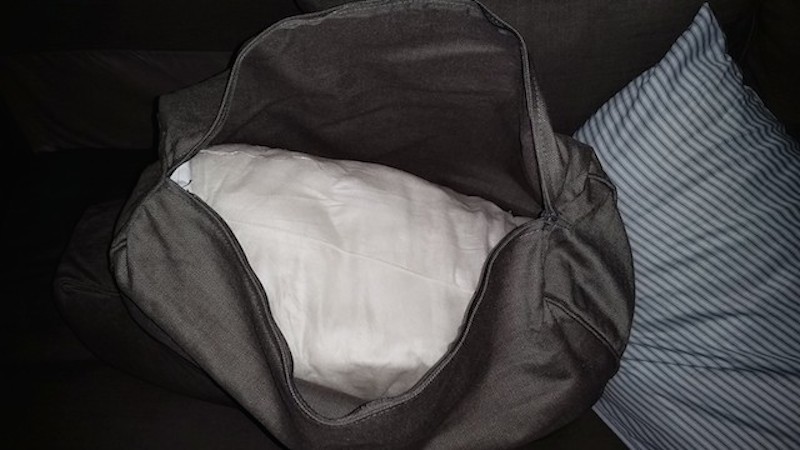
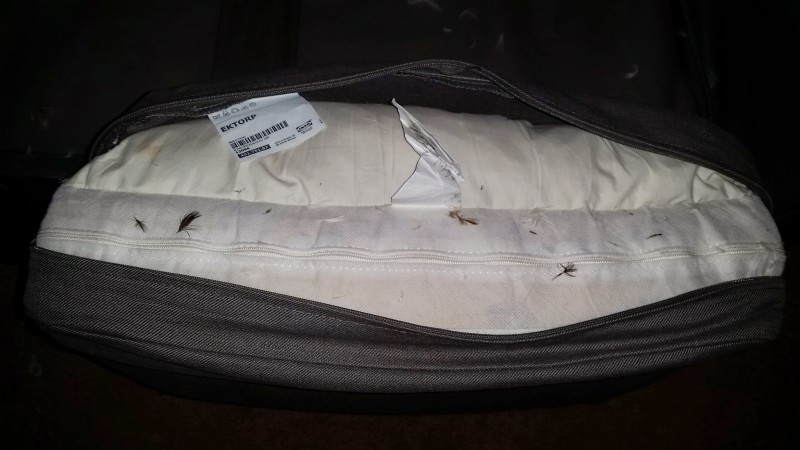
This was by far the easiest part of the project. The back cushions of my couch are basically pillows. They have the polyfill form inside, and the cover zips around it.
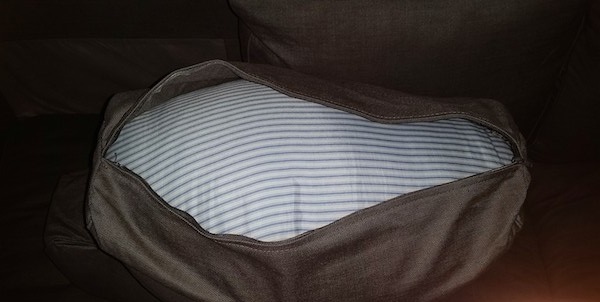
The polyfill had just broken down over the years, so I simply stuffed one old bed pillow into each one. I happened to have three pillows no longer in use, so this part was free! If you don’t have old pillows lying around, you can get really cheap ones at most big box stores that would work just fine.
Part II: The seat cushions
All of the seat cushion refurbishing instructions that I found online were complicated, so I decided to just make this part up as best I could, and it worked! I pretty much treated the seat cushions like additional pillows.
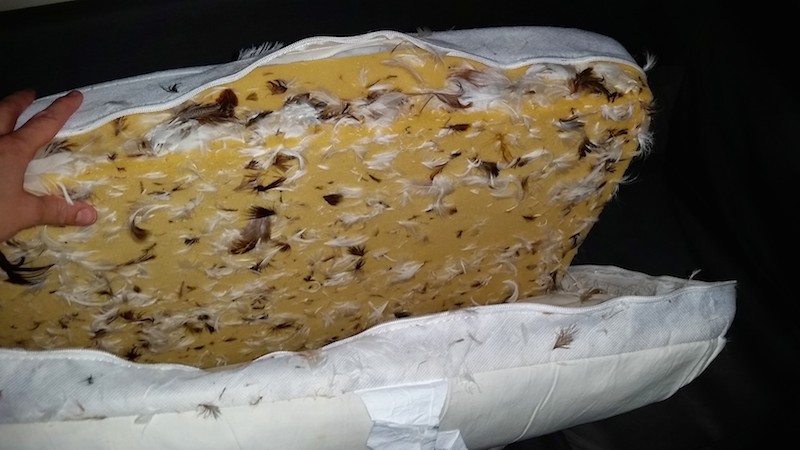
I had to do some cushion dissecting, and found that the seat foam was encased in a down-lined cover, which was super messy. I considered buying shredded memory foam to stuff the cushions, but this would have been more expensive and messy than I wanted, so I decided to use more foam slabs and polyfill.
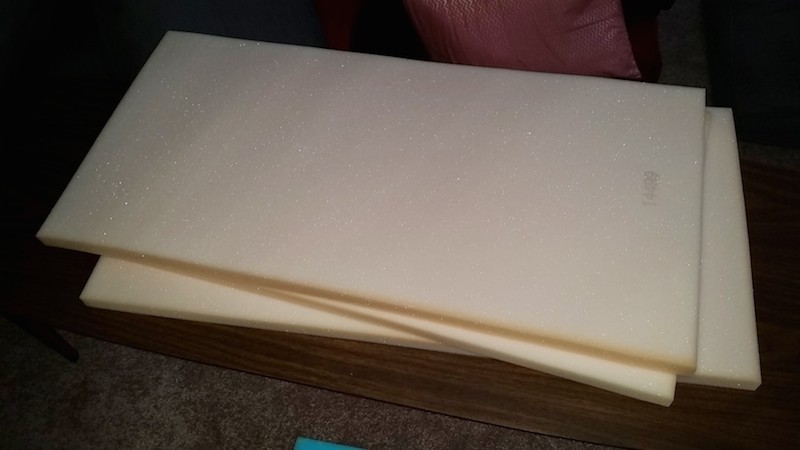
I got three small foam slabs. I stuffed them into the cushions folded in half, so I basically got double layers of this foam. I then stuffed polyfill around the edges to fill it in and puff it up.

- Fun Fact about Polyfill: Crafter’s polyfill in small bags is expensive! It was around $6 per small bag, and I would need a lot of it to stuff couch cushions. Here’s where I got creative — I bought a giant body pillow that was on sale for $15, and cut it open to take the stuffing! It was more than enough to stuff the couch cushions and I still have some leftover in case I need to fluff them up again.
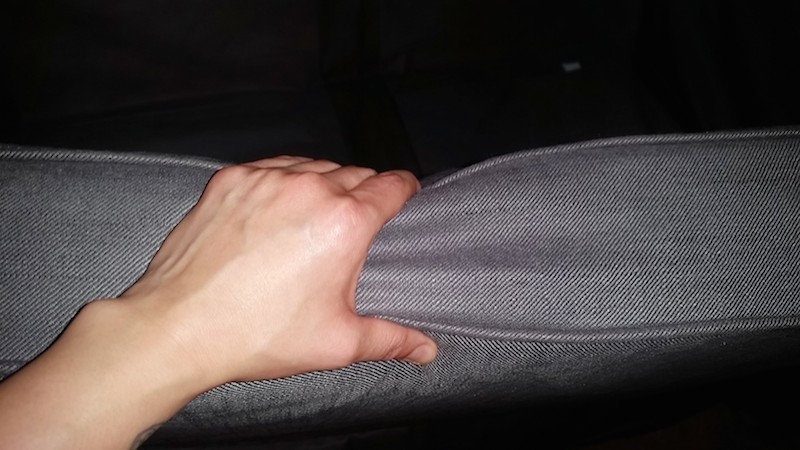
Part III: The base

Upon examining the cushions, I realized that they consisted of a relatively thin piece of foam and some down to fluff up the top. The only thing separating my coccyx from the wood planks was a tiny old foam slab! So, after looking at a few different blogs online, I decided to get a large foam “slab” (which cost $21) and put it between the base and my cushions. Since the slab of foam wasn’t the right size, and I don’t have a fancy laser saw, I did the quick and dirty option of cutting the foam down to size using a regular old kitchen knife. Not beautiful, but got the job done! It doesn’t show since it goes under the couch cover, and it adds a whole extra layer of supportive foam to the seat of the couch without having to do any major refurbishing. So easy!
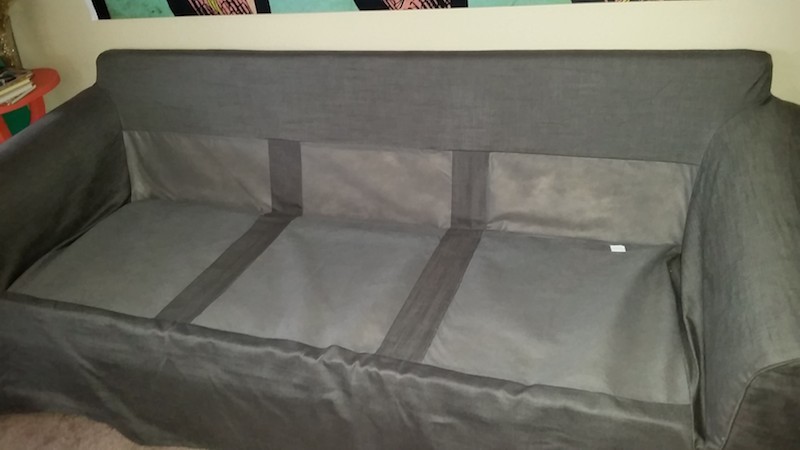
My couch, while still old, is more comfortable and stuffed-looking than it’s ever been! It was the perfect solution to hold me over until I can upgrade to a better piece of furniture. My back and butt will be comfy, and it looks much better than before. Mission Accomplished!
Great job! When I couldn’t afford a new bed for my dog I restuffed her old one.
Sweet! I also bought my furniture pre-owned and it’s all sad and saggy right now too. Not to mention the couch is a terrible plaid color. I’d love to get a couch cover but it’s a hide-a-bed that we use fairly often for guests and I have a tan doggy who sheds terribly (aka nothing dark because hair will show, but nothing light because dirt will show). But maybe with this I can at least re-stuff the cushions!
Hello, OP here! Glad you liked my idea. Here is another cool idea I came across during my quest to resurrect the couch that might at least work work for covering the cushions?
https://trokspot.wordpress.com/2012/08/19/project-week-diy-cohen-couch/
What a great way to bring new life into an old couch! My husband did something similar with an ottoman we got for $20 – he just ripped out the insides and stuffed a pillow in it. Instant comfort!
For people with kids, pets, or have a high chance is spilling stuff on your couch, do yourself a favor and put the foam and other stuffing in your cushions in trash bags, then slip them into the covers (I used contractor bags). The foam won’t get ruined with that first “oopsie”. Bonus: It is also easier to get them into the cover because of the plastic. I got a slab of high density foam on Amazon and cut to size with a serrated knife. Be careful with the overstuff though. I got a bonus project of replacing a cushion’s zipper after a blowout.